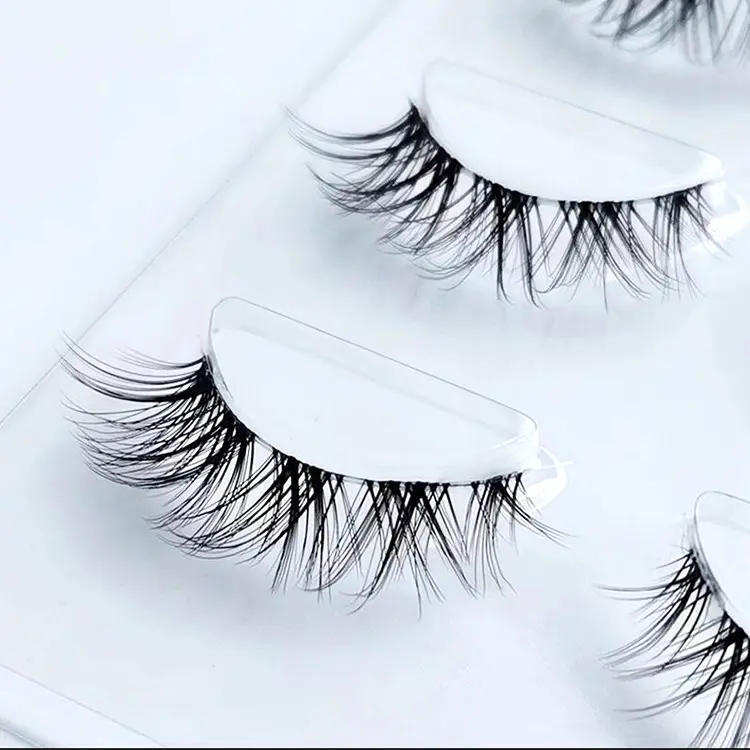
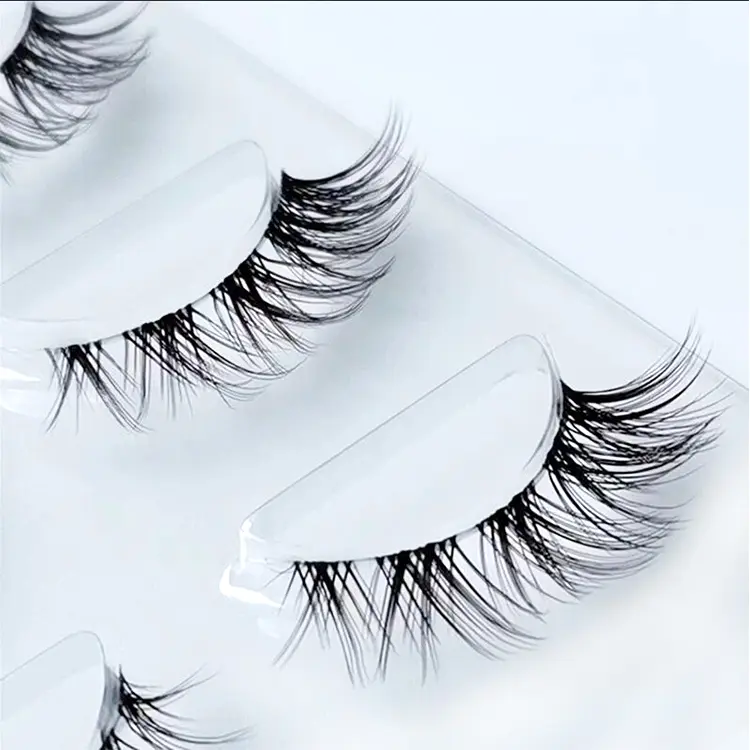

5D silk pre-cut DIY lash extensions
Item Name: 5D silk pre-cut DIY lashes
Material: Silk hairs
Curl: C,D
Length: 8-15mm

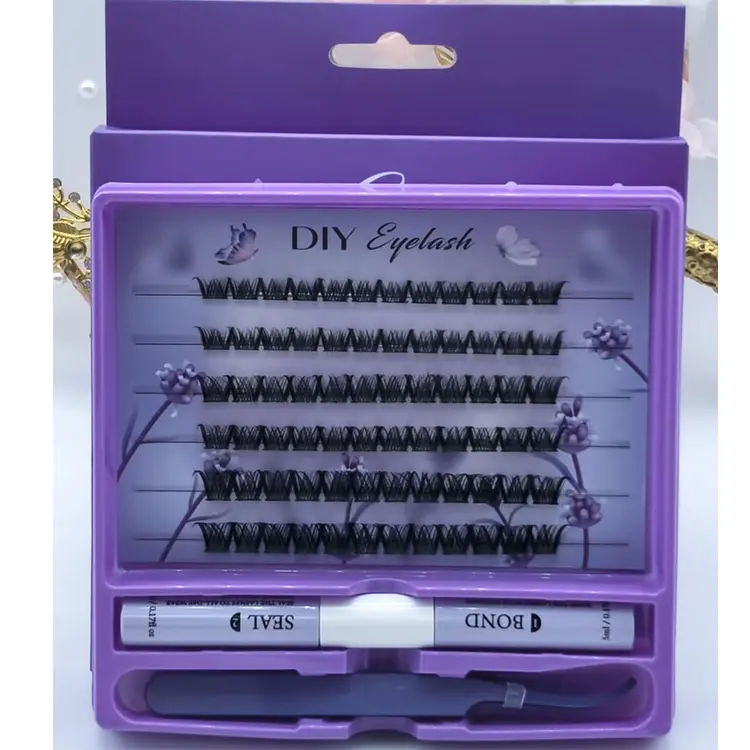
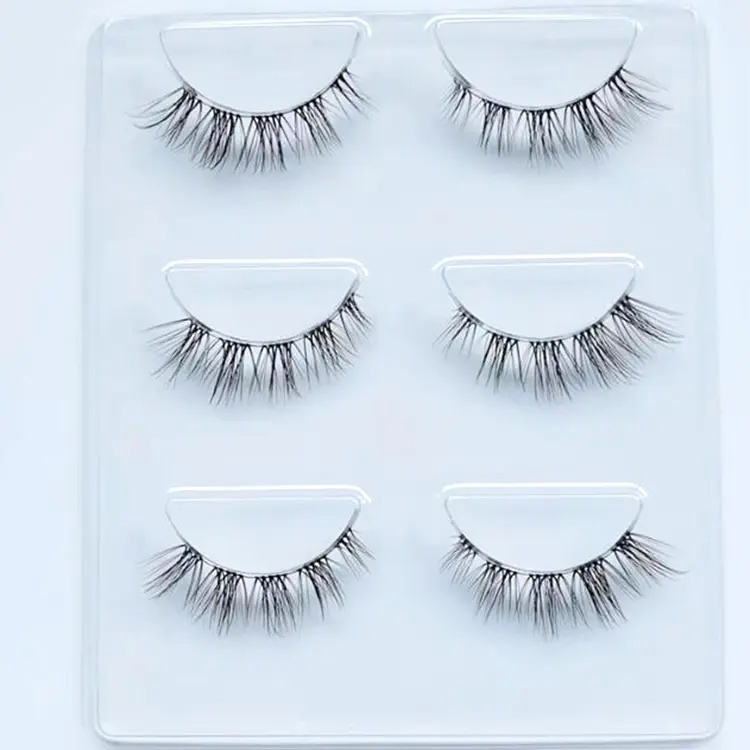
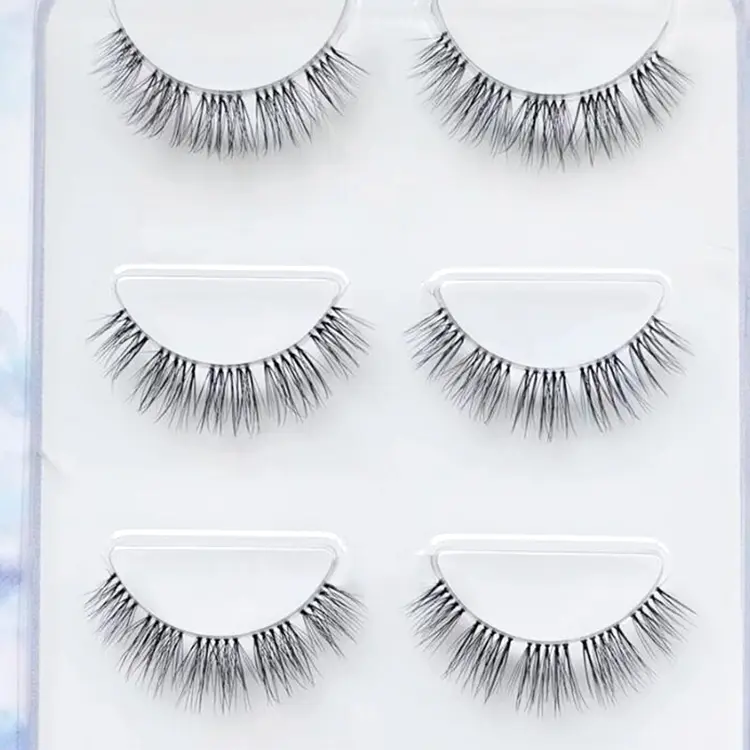
The 5D silk lashes are with invisible clear band,pre-cut in 4 segments,when use can apply one segments by segments,really easy to use.The lash style is short inside,and long outside,very good to have a cat eye.You can do yourself eyelashes beauty at home.

3pairs per pack for the 5D silk pre-cut eyelashes,a volume package,can be reused for many times a long time.The lashes are really nice,seamless with your natural lashes,good for day and night wearing.

This 5D silk pre-cut lash extensions each lash has 5 segments,can use for 3-5segments as your eye shapes.
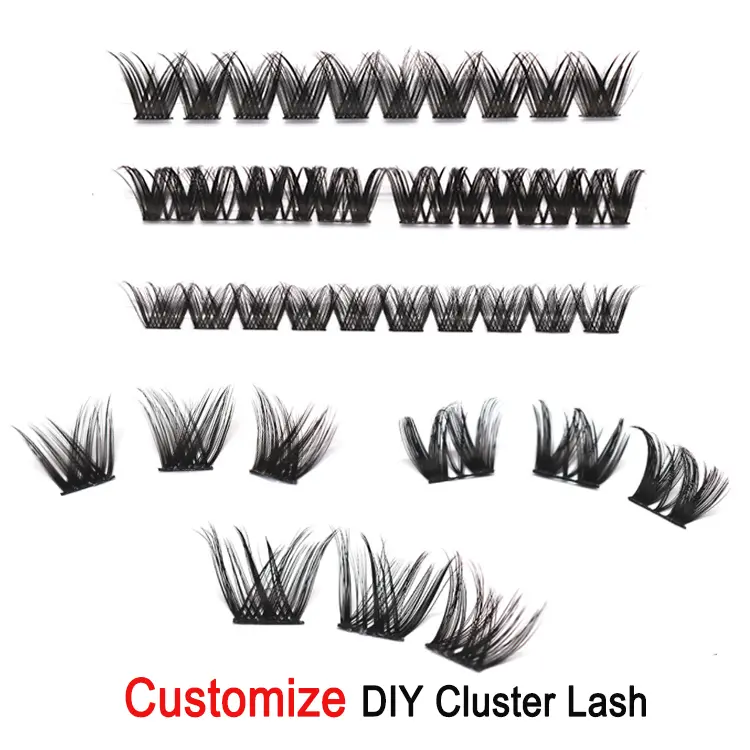
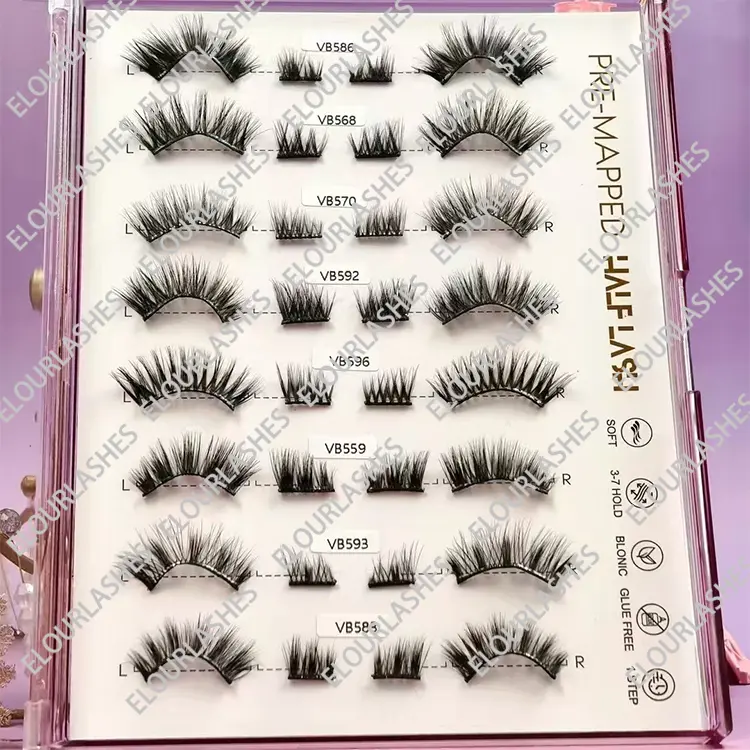
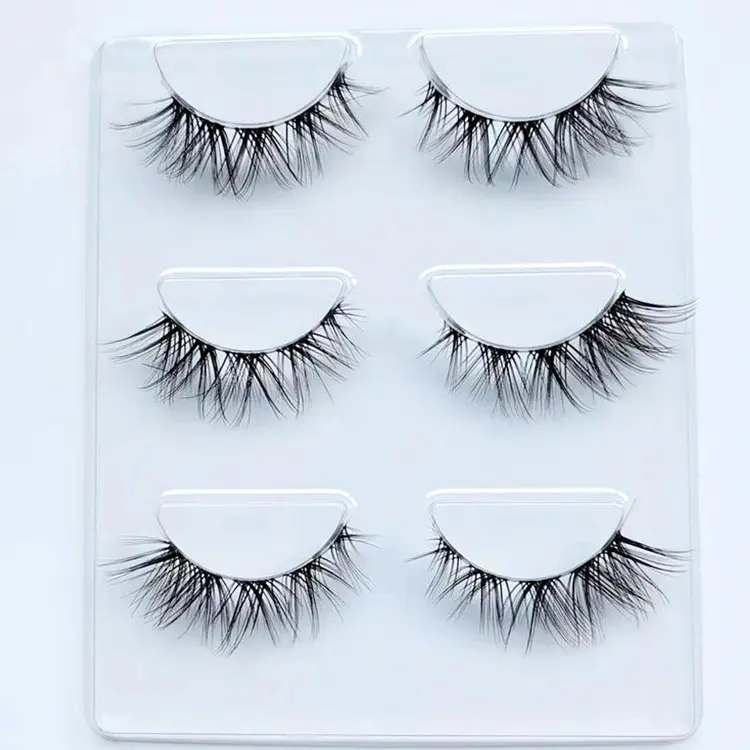
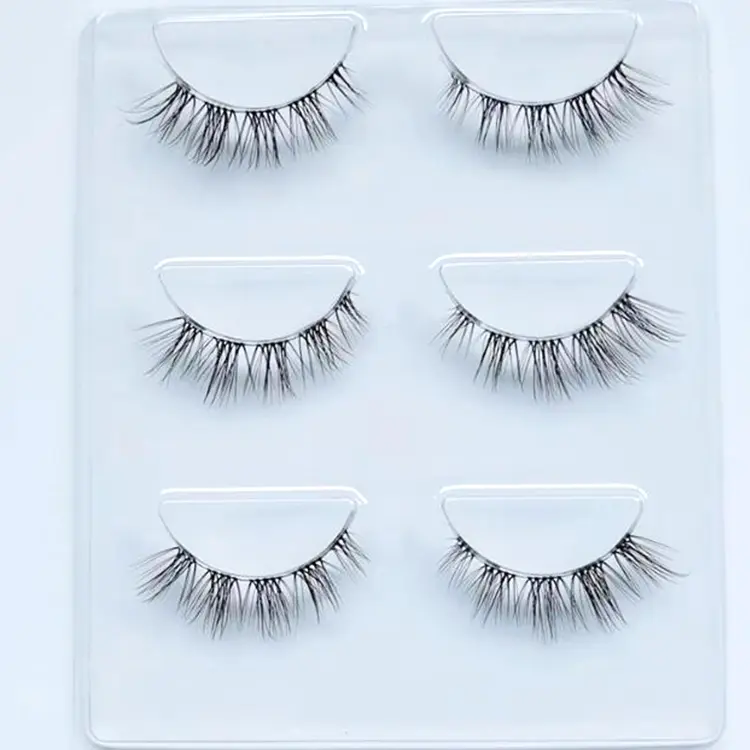
Many more styles of the Silk pre-cut DIY lash extensions:

Many more styles of the silk pre-cut DIY lash extensions for choices.These DIY lashes can make 5D effect or not as need.All of them are made by the high quality materials,and easy to use,to make your home beauty lashes shapes as need.
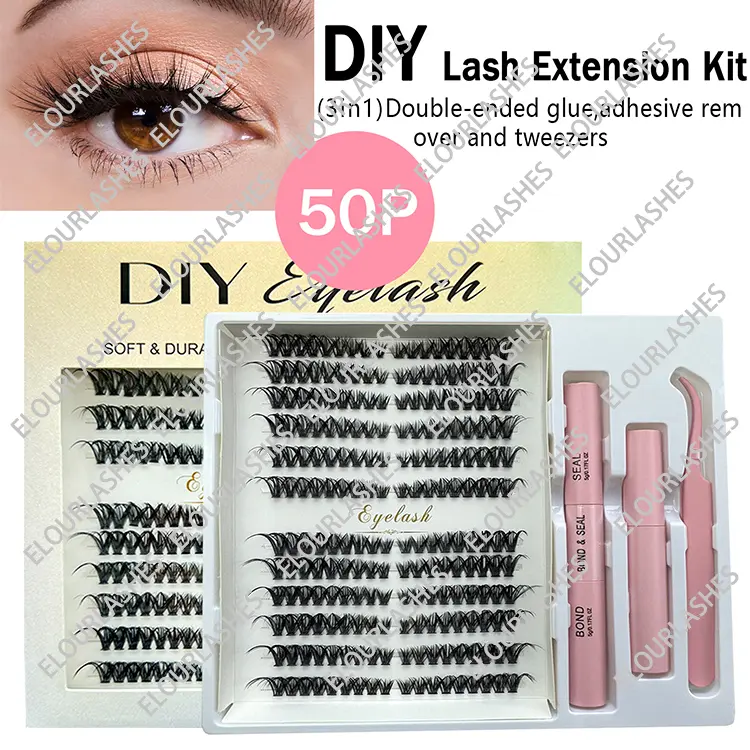
The DIY lash extensions bond,tweezers:

We supply for all of the DIY lash extensions related products,the DIY bond,sealant,remover,the DIY lashes applicator,tweezer,the lash scissors.And all of them can print your logo on,customized.
We do all different kinds of the custom logo package boxes for the DIY lash extensions,we have professional package design team to do the free design for you.
FAQ about the DIY eyelash extensions:
1.What are the DIY eyelash extenisons?
DIY lash extensions is a type of lash extensions can apply at home by oneself,without the assistance of a professional lash technician.They usually come in a kit,with tools to help applying and using the semi-permanent adhesive to apply one by one to your natural lashes to achive the volume and length effect.There are different kinds,clear band ones,black cotton band ones,heat bonded ones packed in ribbon,in precutted or in clusters.
2.Are the DIY eyelash extensions safe?
Yes,DIY lash extensions are safe,due to they are made with the safe raw materials and the safe lash glues.The lashes themselves will be no any allergy.If worry about allergy,can do an allergy test before using DIY lashes.
DIY eyelash extensions also may cause risks if not done properly.It needs carefully application and knowledge of proper hygiene and safety practices.Follow the wearing instructions,use the approciate DIY lashes products to avoid the damage or allerg to the eyes or natural lashes or the skins.
3.How long do the DIY lash extensions last?
The DIY lash extensions can last about 2 weeks.Apply with the DIY lash adhesive,sealant,the DIY lash extensions really last,the sealant helps the lasting of the lashes.
4.How do I apply DIY lashes?
Applying DIY lashes, whether they are false strip lashes or individual lash extensions, requires precision and patience.
Here's a step-by-step guide to help you apply DIY lashes effectively:
Prepare the individual lash clusters: Gently remove the individual lash clusters from the packaging. You can use a lash
tray or a small container to hold the lashes during the application process.
Apply lash adhesive: Dip the end of an individual lash cluster into a small amount of lash adhesive. Be cautious not to
use too much adhesive to avoid clumping.
Place the lash clusters: Using tweezers, position the individual lash cluster onto your natural lash, close to the base. The
cluster should adhere to one natural lash.
Secure the lash cluster: Lightly press the individual lash cluster onto your natural lash to ensure it's securely attached.
Continue this process, working from the outer corners towards the inner corners of your eyes.
Customize the look: You can use different lengths and thicknesses of individual lash clusters to create a customized,
natural look or a more dramatic effect.
Allow the adhesive to dry: Avoid touching or wetting the lashes for at least 24 hours to allow the adhesive to fully
dry and bondRemember, practice makes perfect when it comes to applying DIY lashes. Take your time, be patient,
and don't getdiscouraged if it's challenging at first. With practice, you'll improve your technique and achieve a beautiful lash look.
If you have any difficulties, consider seeking guidance from a professional lash artist.
5.Can I reuse DIY lashes?
Yes,the DIY lashes are reusable and can be reused for about 7days with proper care.
6.Will DIY lashes damage my natural lashes?
Using DIY lashes can potentially damage your natural lashes if not applied or removed properly. DIY lashes include products
like strip lashes, individual lash clusters, or adhesive eyelash extensions that can be applied at home without the assistance of
a professional.
Here are some reasons why DIY lashes can cause damage to your natural lashes:
Incorrect application: If you don't apply the lashes correctly, they may be too close to the lash line, causing tension and pulling
on your natural lashes. This can lead to breakage and damage.
Poor-quality adhesive: Low-quality adhesives may contain harsh chemicals that can weaken and damage your natural lashes
over time.
Excessive weight: Some DIY lash products may be heavy, and wearing them for extended periods can strain your natural lashes,
leading to potential damage.
Incorrect removal: Improperly removing the DIY lashes can cause your natural lashes to be pulled out or damaged.
To minimize the risk of damage to your natural lashes when using DIY lashes, follow these tips:
Choose high-quality products: Opt for reputable brands and high-quality adhesives that are specifically designed for
DIY lash application.
Follow the instructions: Read and follow the instructions provided with the DIY lash products carefully to ensure proper
application and removal.
Avoid excessive use: Don't wear DIY lashes continuously for extended periods. Give your natural lashes breaks between
uses to allow them to recover.
Be gentle during removal: When removing the DIY lashes, use a gentle, oil-based makeup remover to dissolve the adhesive,
and avoid pulling or tugging on your natural lashes.
Don't share lashes: Sharing DIY lashes with others can risk the transfer of bacteria, which can lead to eye infections or other
issues that may affect lash health.
If you're concerned about damaging your natural lashes or want a more professional and safer approach to lash extensions,
consider visiting a licensed and experienced lash technician. They can provide proper application and care for lash extensions
to minimize the risk of damage to your natural lashes.
7.Are there different styles or lengths of DIY lashes?
DIY lashes typically come in various styles and lengths to cater to different preferences and eye shapes. However,
keep in mind that the beauty industry is continually evolving, and new products may have been introduced since then.
Styles of DIY lashes usually include:
Natural/Classic: These lashes are designed to add subtle length and volume, providing a more natural look that
enhances your existing lashes.
Dramatic/Volume: These lashes have a fuller appearance and are intended to create a more glamorous and intense
look. They can add both length and volume, making your lashes appear thicker and more prominent.
Wispy: Wispy lashes have a feathery, fluttery effect, providing a softer, more natural look with some added length
and texture.
Cat-eye/Flared: Cat-eye lashes are longer and more dramatic towards the outer corners, giving your eyes a
lifted, elongated appearance.
Individual/Cluster: These lashes come in small groups or individual pieces. They allow for a customized application,
providing more control over the desired level of volume and length.
Regarding lash length, they typically vary from short to long, depending on the style and brand. Shorter lashes
tend to offer a more subtle and natural look, while longer lashes provide a bolder and more striking effect. The
length you choose will depend on your personal preference and the occasion.
When buying DIY lashes, you can find various lengths and styles in beauty supply stores, drugstores, or online
retailers. Always follow the manufacturer's instructions for application and removal to ensure the best results and
to protect your natural lashes.
8.How do I remove DIY lashes safely?
To safely remove DIY lashes, follow these step-by-step instructions:
Prepare: Ensure you have a clean, well-lit area with a mirror. Wash your hands thoroughly to prevent any
dirt or bacteria from coming into contact with your eyes.
Soften the adhesive: Apply a warm, damp cotton pad or cloth to your closed eyes. Gently press it against
your eyelids for a few minutes. This helps to soften the lash adhesive, making it easier to remove the false lashes.
Use oil-based makeup remover: Dip a cotton swab or a clean spoolie brush into an oil-based makeup
remover. Gently apply the remover along the lash line where the false lashes are attached. The oil in the
makeup remover will further break down the adhesive.
Gently peel off the lashes: Starting from the outer corner of your eye, use your fingers or tweezers to
gently and slowly peel off the DIY lashes. Be patient and avoid tugging or pulling forcefully, as this can
damage your natural lashes or irritate your eyelids.
Cleanse your lashes: Once the false lashes are removed, use a gentle eye cleanser to remove any
remaining adhesive or makeup residue. Be cautious not to get the cleanser directly into your eyes.
Soothe your lashes: After removing the DIY lashes, you can use a soothing eye gel or cream to calm
the skin around your eyes. This will help reduce any redness or irritation.
Take a break: If you plan to reapply false lashes or use them regularly, give your natural lashes a
break before applying a new set. This helps to prevent damage and allows your lashes to recover.
Remember that removing DIY lashes requires care and gentleness. If you encounter difficulties or
discomfort during the removal process, consider seeking help from a professional lash artist or
beauty technician. They can safely remove the false lashes for you and offer guidance on proper
application and maintenance for future use.