DIY ribbons Eyelash Extensions at Home
Creating your own ribbon eyelash extensions at home can be a fun and creative project, but it's important to note that
applying eyelash extensions requires precision and caution. If you're not experienced in applying lash extensions, it's
recommended to practice on a mannequin head or seek professional training before attempting to apply them to your
own lashes. Here's a general guide on how to create DIY ribbon eyelash extensions:
Materials You'll Need:
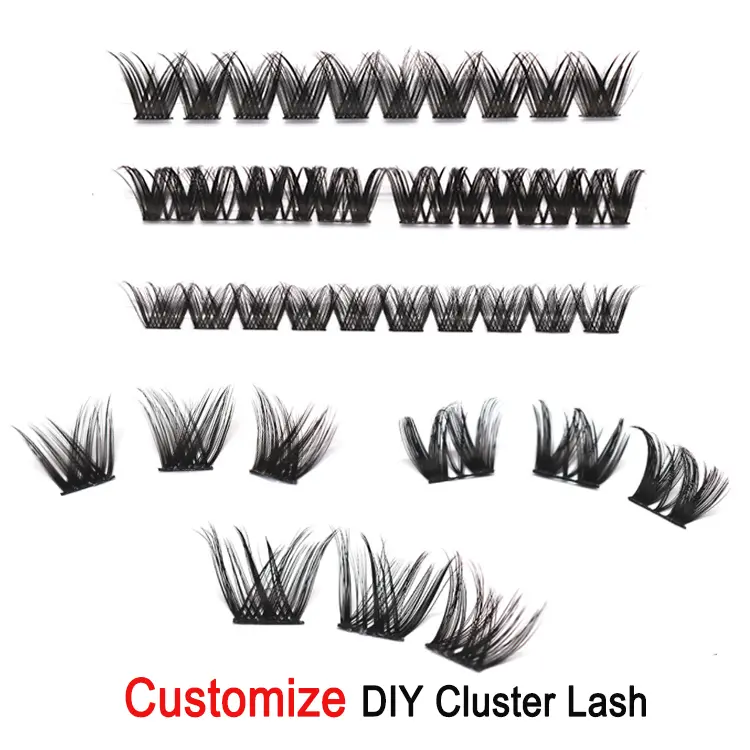
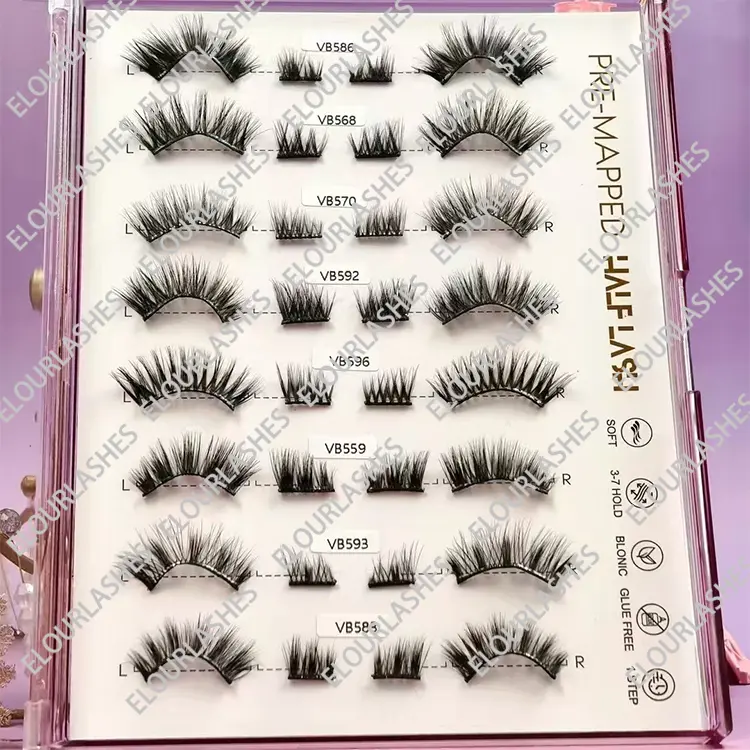
Faux Lashes: Choose individual faux eyelashes or lash clusters in your desired length and style. These will be attached to
your natural lashes.
Lash Adhesive: Get a high-quality lash adhesive that is safe for use on your skin and eyes. You can choose clear or black
adhesive based on your preference.
Tweezers: Precision tweezers will help you pick up and place the individual lashes accurately.
Lash Applicator or Lash Holder: These tools can help you hold the lashes securely while applying the adhesive and
attaching them to your natural lashes.
Mirror: A well-lit mirror is essential for seeing your natural lashes clearly while applying the extensions.
Steps:
Preparation:
Make sure your natural lashes are clean and free from any makeup or oils. This will help the adhesive bond effectively.
Choose a comfortable and well-lit space to work in.
Select and Prepare Lashes:
Decide on the length and style of the eyelash extensions you want to create.
Gently remove the faux lashes from the packaging, being careful not to damage them.
Apply Adhesive:
Squeeze a small amount of lash adhesive onto a clean surface or the back of your hand.
Using tweezers or a lash applicator, pick up a faux lash and dip the base (the end that will be attached to your natural lash)
into the adhesive. You want a thin, even layer of adhesive.
Attach the Extensions:
Hold the faux lash close to your natural lash line and gently press the adhesive end onto your natural lash, avoiding contact
with your skin.
Use the tweezers or lash applicator to adjust the placement and ensure the extension is secure.
Repeat and Fill: Repeat the process, attaching extensions along your lash line. You can create a full set or focus on specific
areas for a more customized look. Make sure the extensions are evenly spaced and comfortable.
Curing Time: Depending on the adhesive you're using, there might be a recommended curing time before you can get the
extensions wet or apply makeup.
Finishing Touches:
Once the adhesive is fully cured, you can gently brush through your new extensions with a clean mascara wand to help blend
them with your natural lashes.
Avoid rubbing or tugging your eyes, as this could damage the extensions.
Safety Note:
If you're not familiar with applying eyelash extensions, it's advisable to seek professional guidance or training before attempting
to do so on your own. Incorrect application can lead to discomfort, irritation, or damage to your natural lashes and eyes.
Remember that working with your eyes requires careful attention and caution, so take your time and prioritize safety.

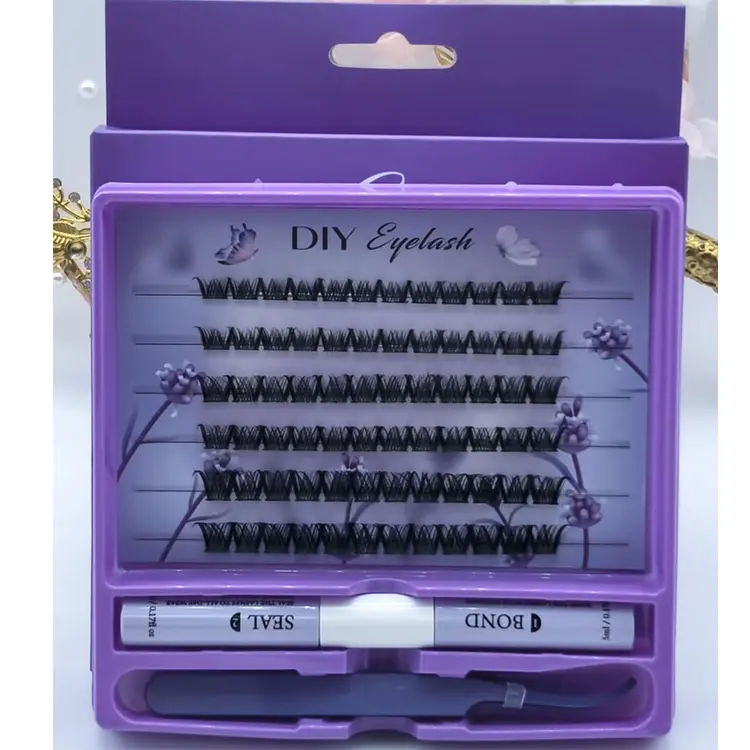
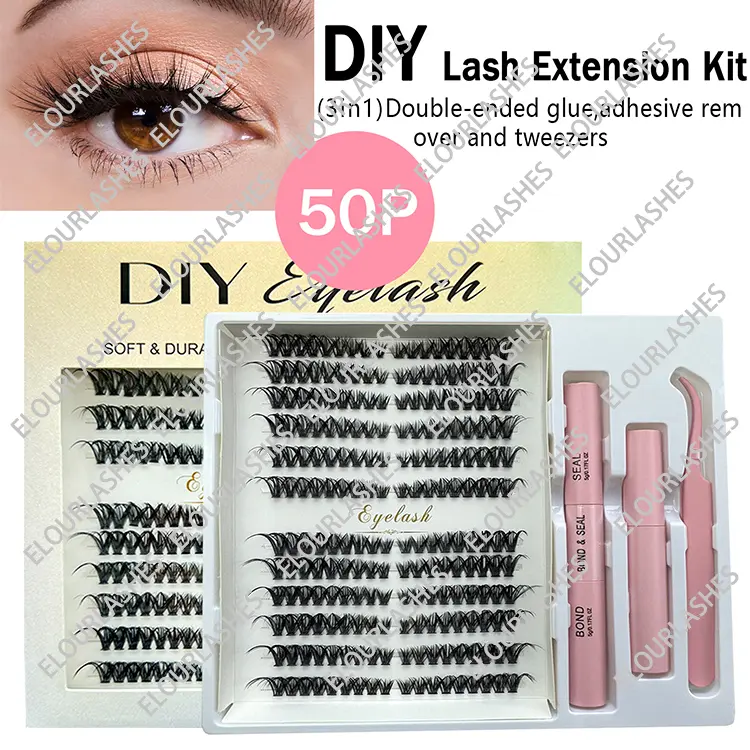
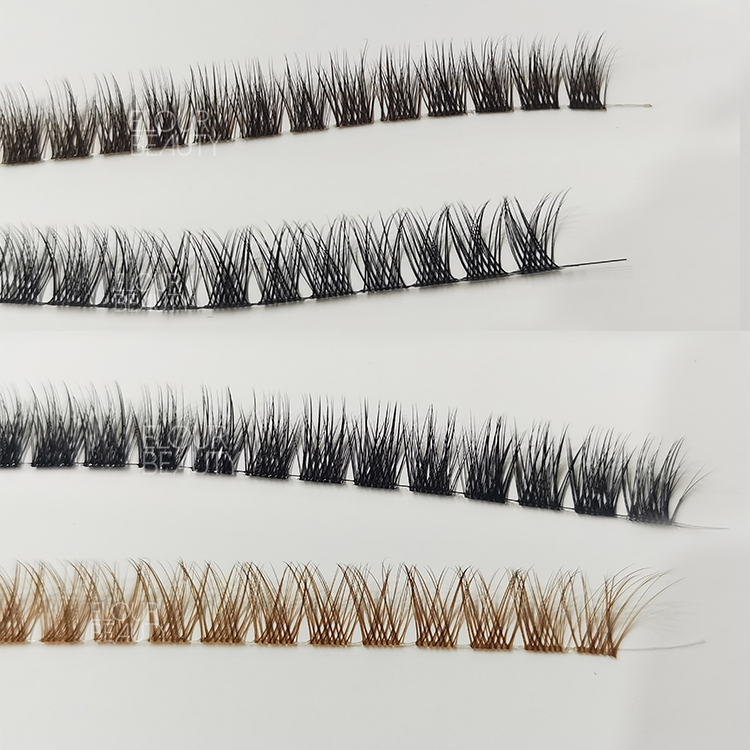
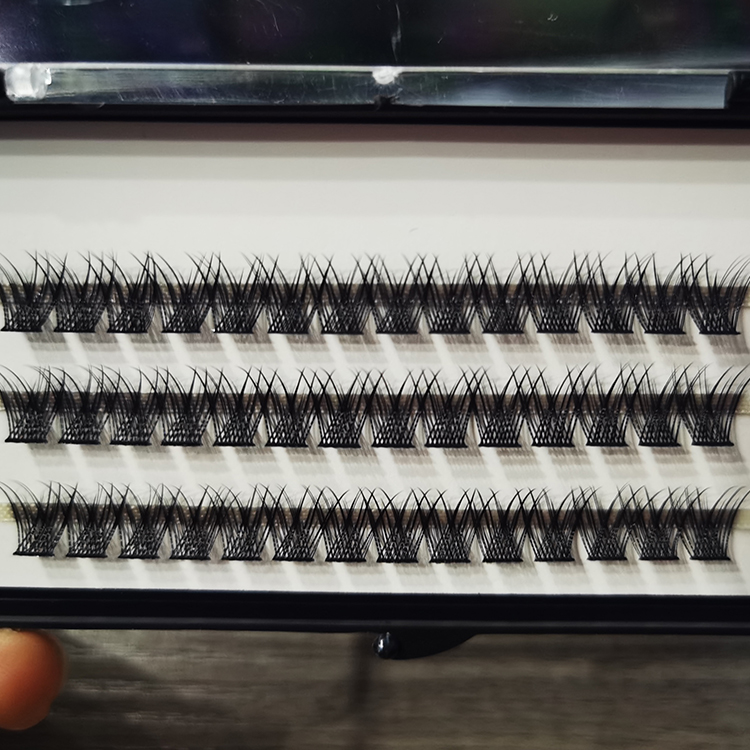
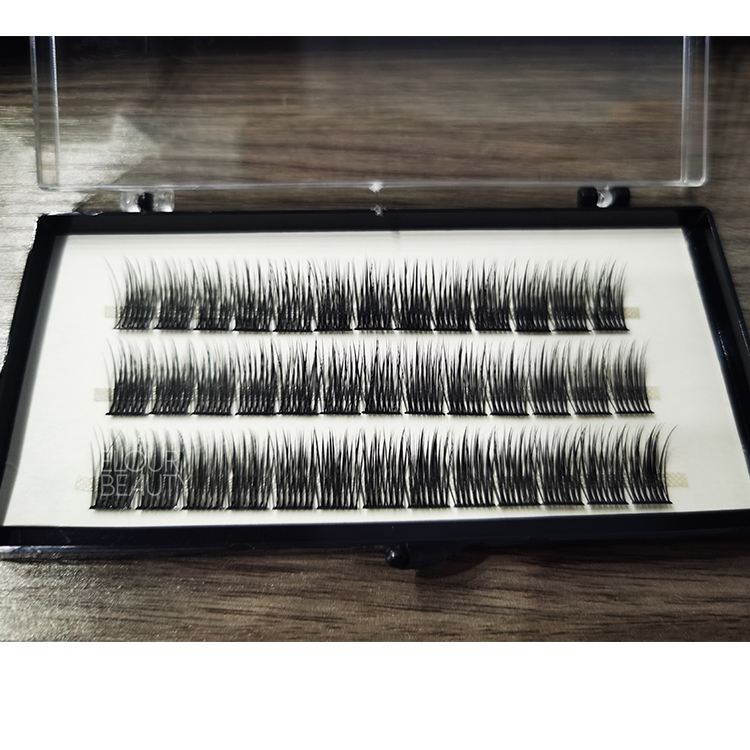
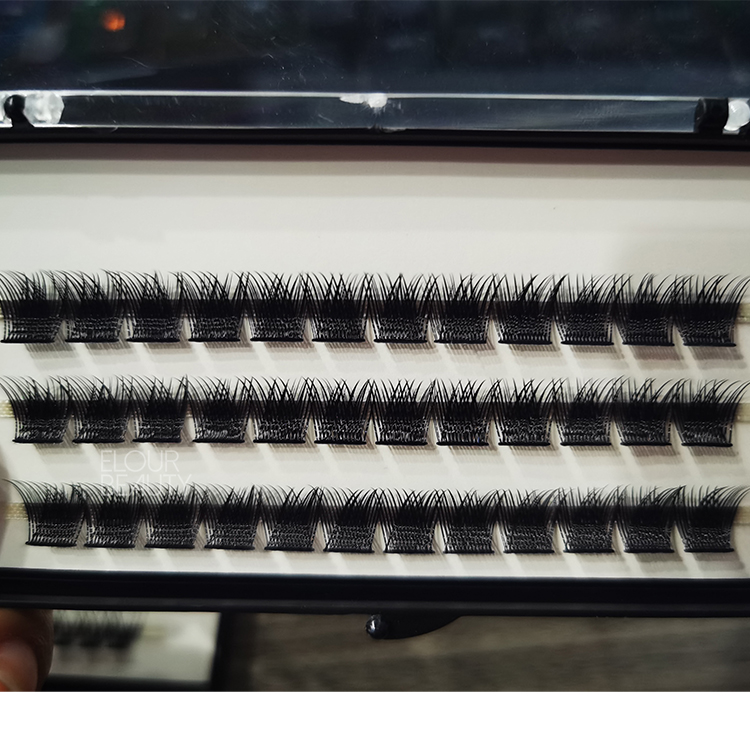
The lash ribbons each is about 16-17mm with different segments,usually we do C,D curls in 8mm,10mm,12mm,14mm,16mm length,and the lash bands we have black thin cotton bands,also have transparent clear band.And we can customized in CC curl and longer length ect.And our clear band lash ribbons are really good,no need to cut them,just roll off from the line,so the lashes are very lightweight and fit really well with the natural eyelashes.And we also have brown color and other different color lash ribbons.

Lash ribbons are DIY eyelash extensions at home.The lashes can cut in segments as need,you can use several segements as your eye shape.Use with our lash bond,sealand,really easy to use at home,and can last 3-5days.
FAQs for DIY ribbons Eyelash Extensions:
1. What are DIY ribbons for eyelash extensions?
DIY ribbons for eyelash extensions are pre-made lash strips that feature multiple lash strands attached in a ribbon-like pattern.
They are designed for easy and convenient lash application, allowing individuals to achieve a temporary lash look without the
need for professional lash extension application.
2. How do DIY ribbons for eyelash extensions work?
DIY ribbons typically come with adhesive on one end, making them easy to apply. You simply press the adhesive end onto
your lash line, allowing the ribbon of lashes to blend with your natural lashes.
3. Can I apply DIY ribbons for eyelash extensions myself?
Yes, DIY ribbons are designed for self-application, making them a user-friendly option for those who want to enhance their
lash look without the complexity of individual lash extension application.
4. How long do DIY ribbons for eyelash extensions last?
DIY ribbons are usually designed for short-term use, such as for special occasions or events. They can be worn for a day or
evening and are meant to be removed before bedtime.
5. Can I wear makeup with DIY ribbons for eyelash extensions?
Yes, you can wear makeup with DIY ribbons, but it's best to apply makeup before attaching the ribbons to avoid damaging
or altering their appearance.
6. How do I remove DIY ribbons for eyelash extensions?
DIY ribbons are usually attached using adhesive strips that are safe for the skin. To remove them, gently peel the ribbons off
from the inner corner of your eye outward.
7. Can I reuse DIY ribbons for eyelash extensions?
DIY ribbons are generally intended for one-time use. Reusing them may compromise their appearance and adhesive quality.
8. Are DIY ribbons for eyelash extensions suitable for beginners?
Yes, these ribbons are suitable for beginners because they don't require the intricate application process of individual lash
extensions.
9. How do I customize the look of DIY ribbons for eyelash extensions?
While DIY ribbons come in pre-made styles, you can choose different lengths, densities, and even colors to achieve the
desired lash look.
10. Can I achieve a natural look with DIY ribbons for eyelash extensions?
While DIY ribbons can offer more volume, you can select styles that provide a relatively natural appearance, depending on
personal preference.